Sign up for Sequence Builder
Go to the Sequence Builder platform
Go to sequence.build and click on the 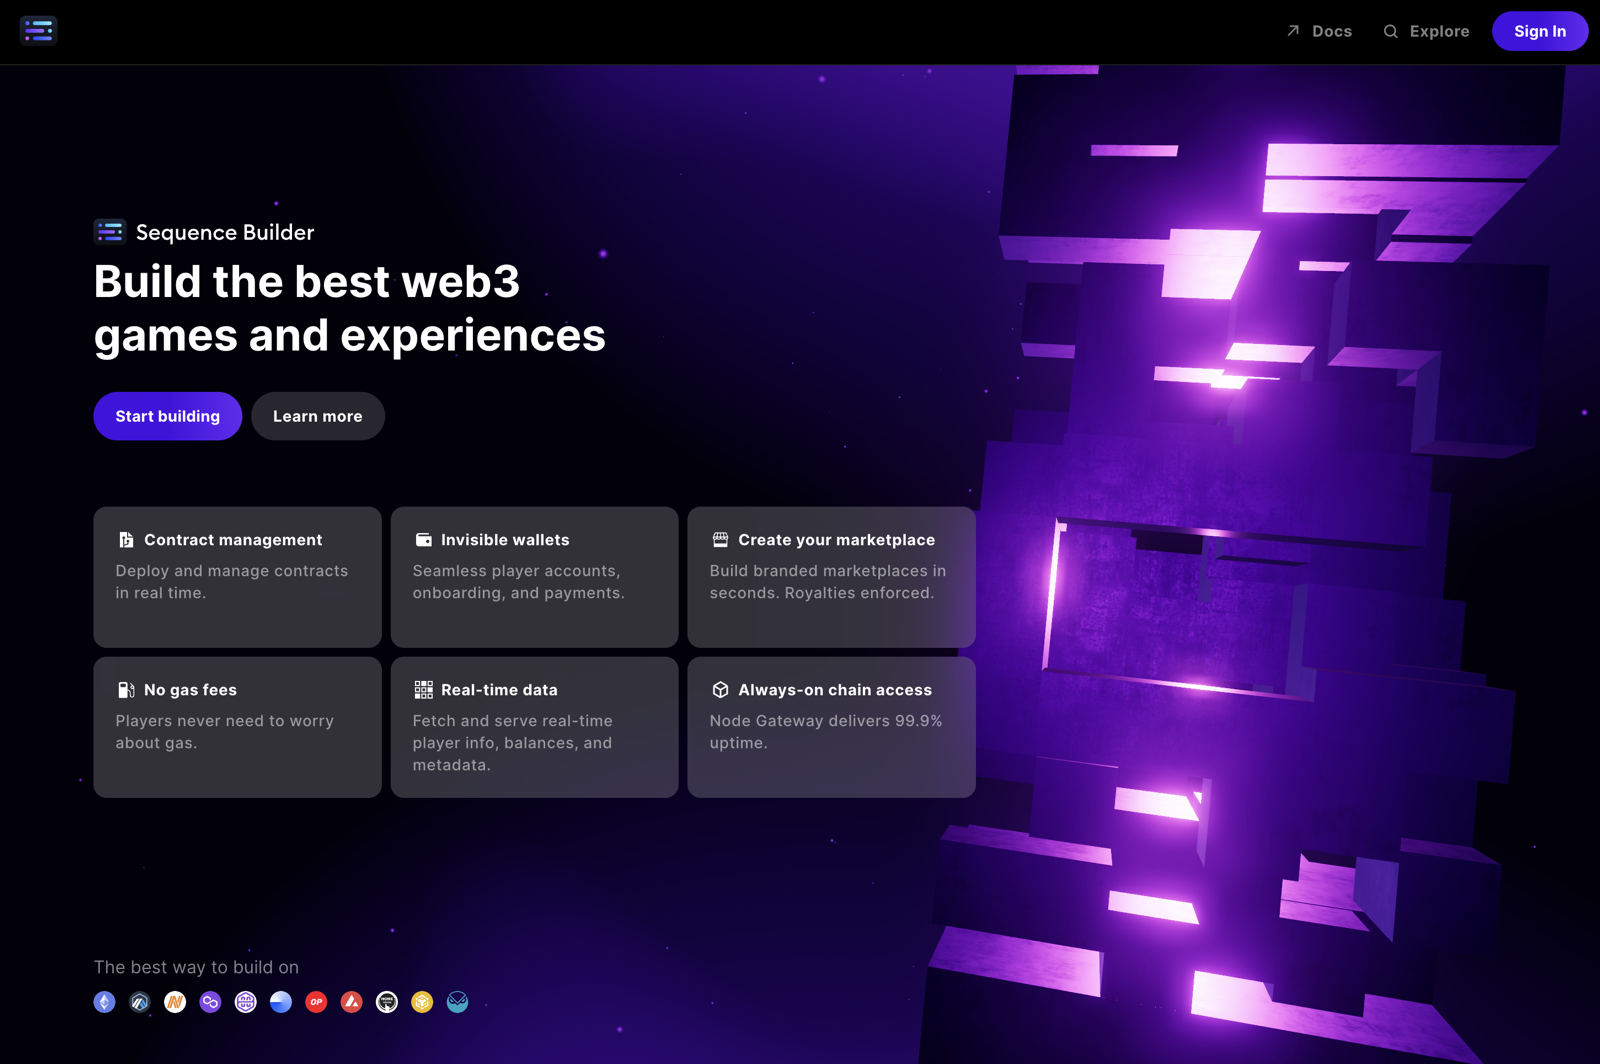
Start Building or Sign in button to get started.
Choose a sign in method
When you first sign in to Builder, a wallet is created for you.You may, however, already have a Sequence wallet. If you are signed in with that wallet, you will see an option to use it.Without a wallet, you will be given a few options to sign in. You can use any of the social sign ins, or you can simply use your email to get started.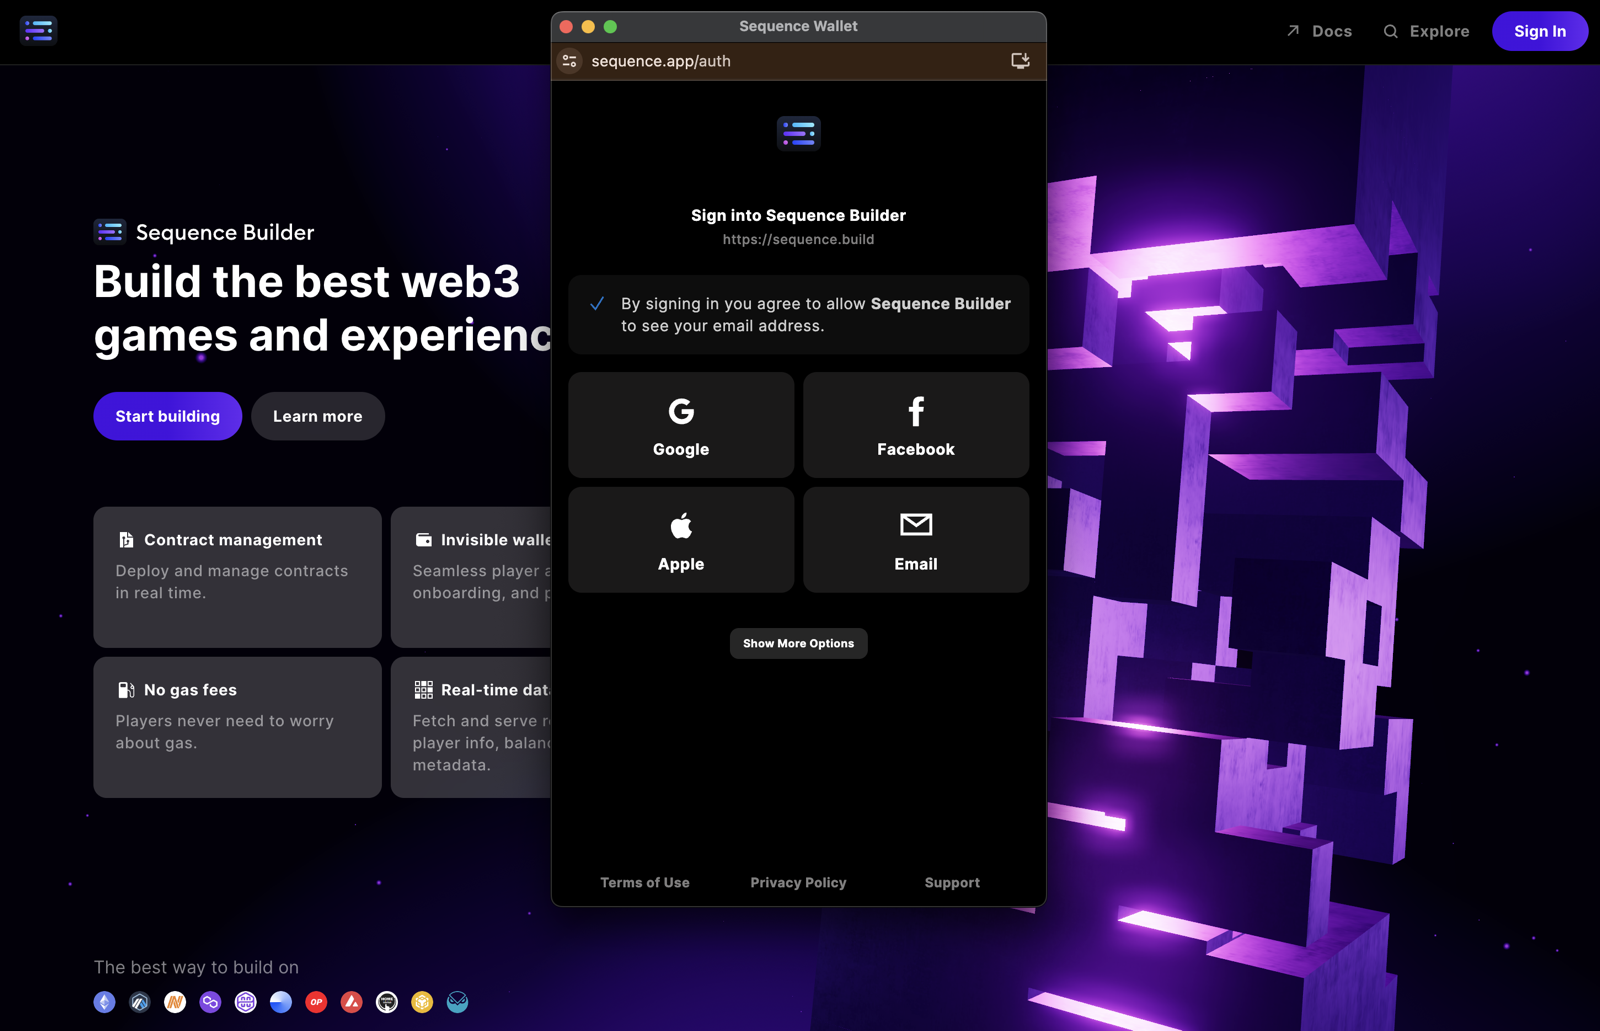

Sign in to sequence.build
After choosing how you would like to sign in, you will be presented with the terms of use. To read the 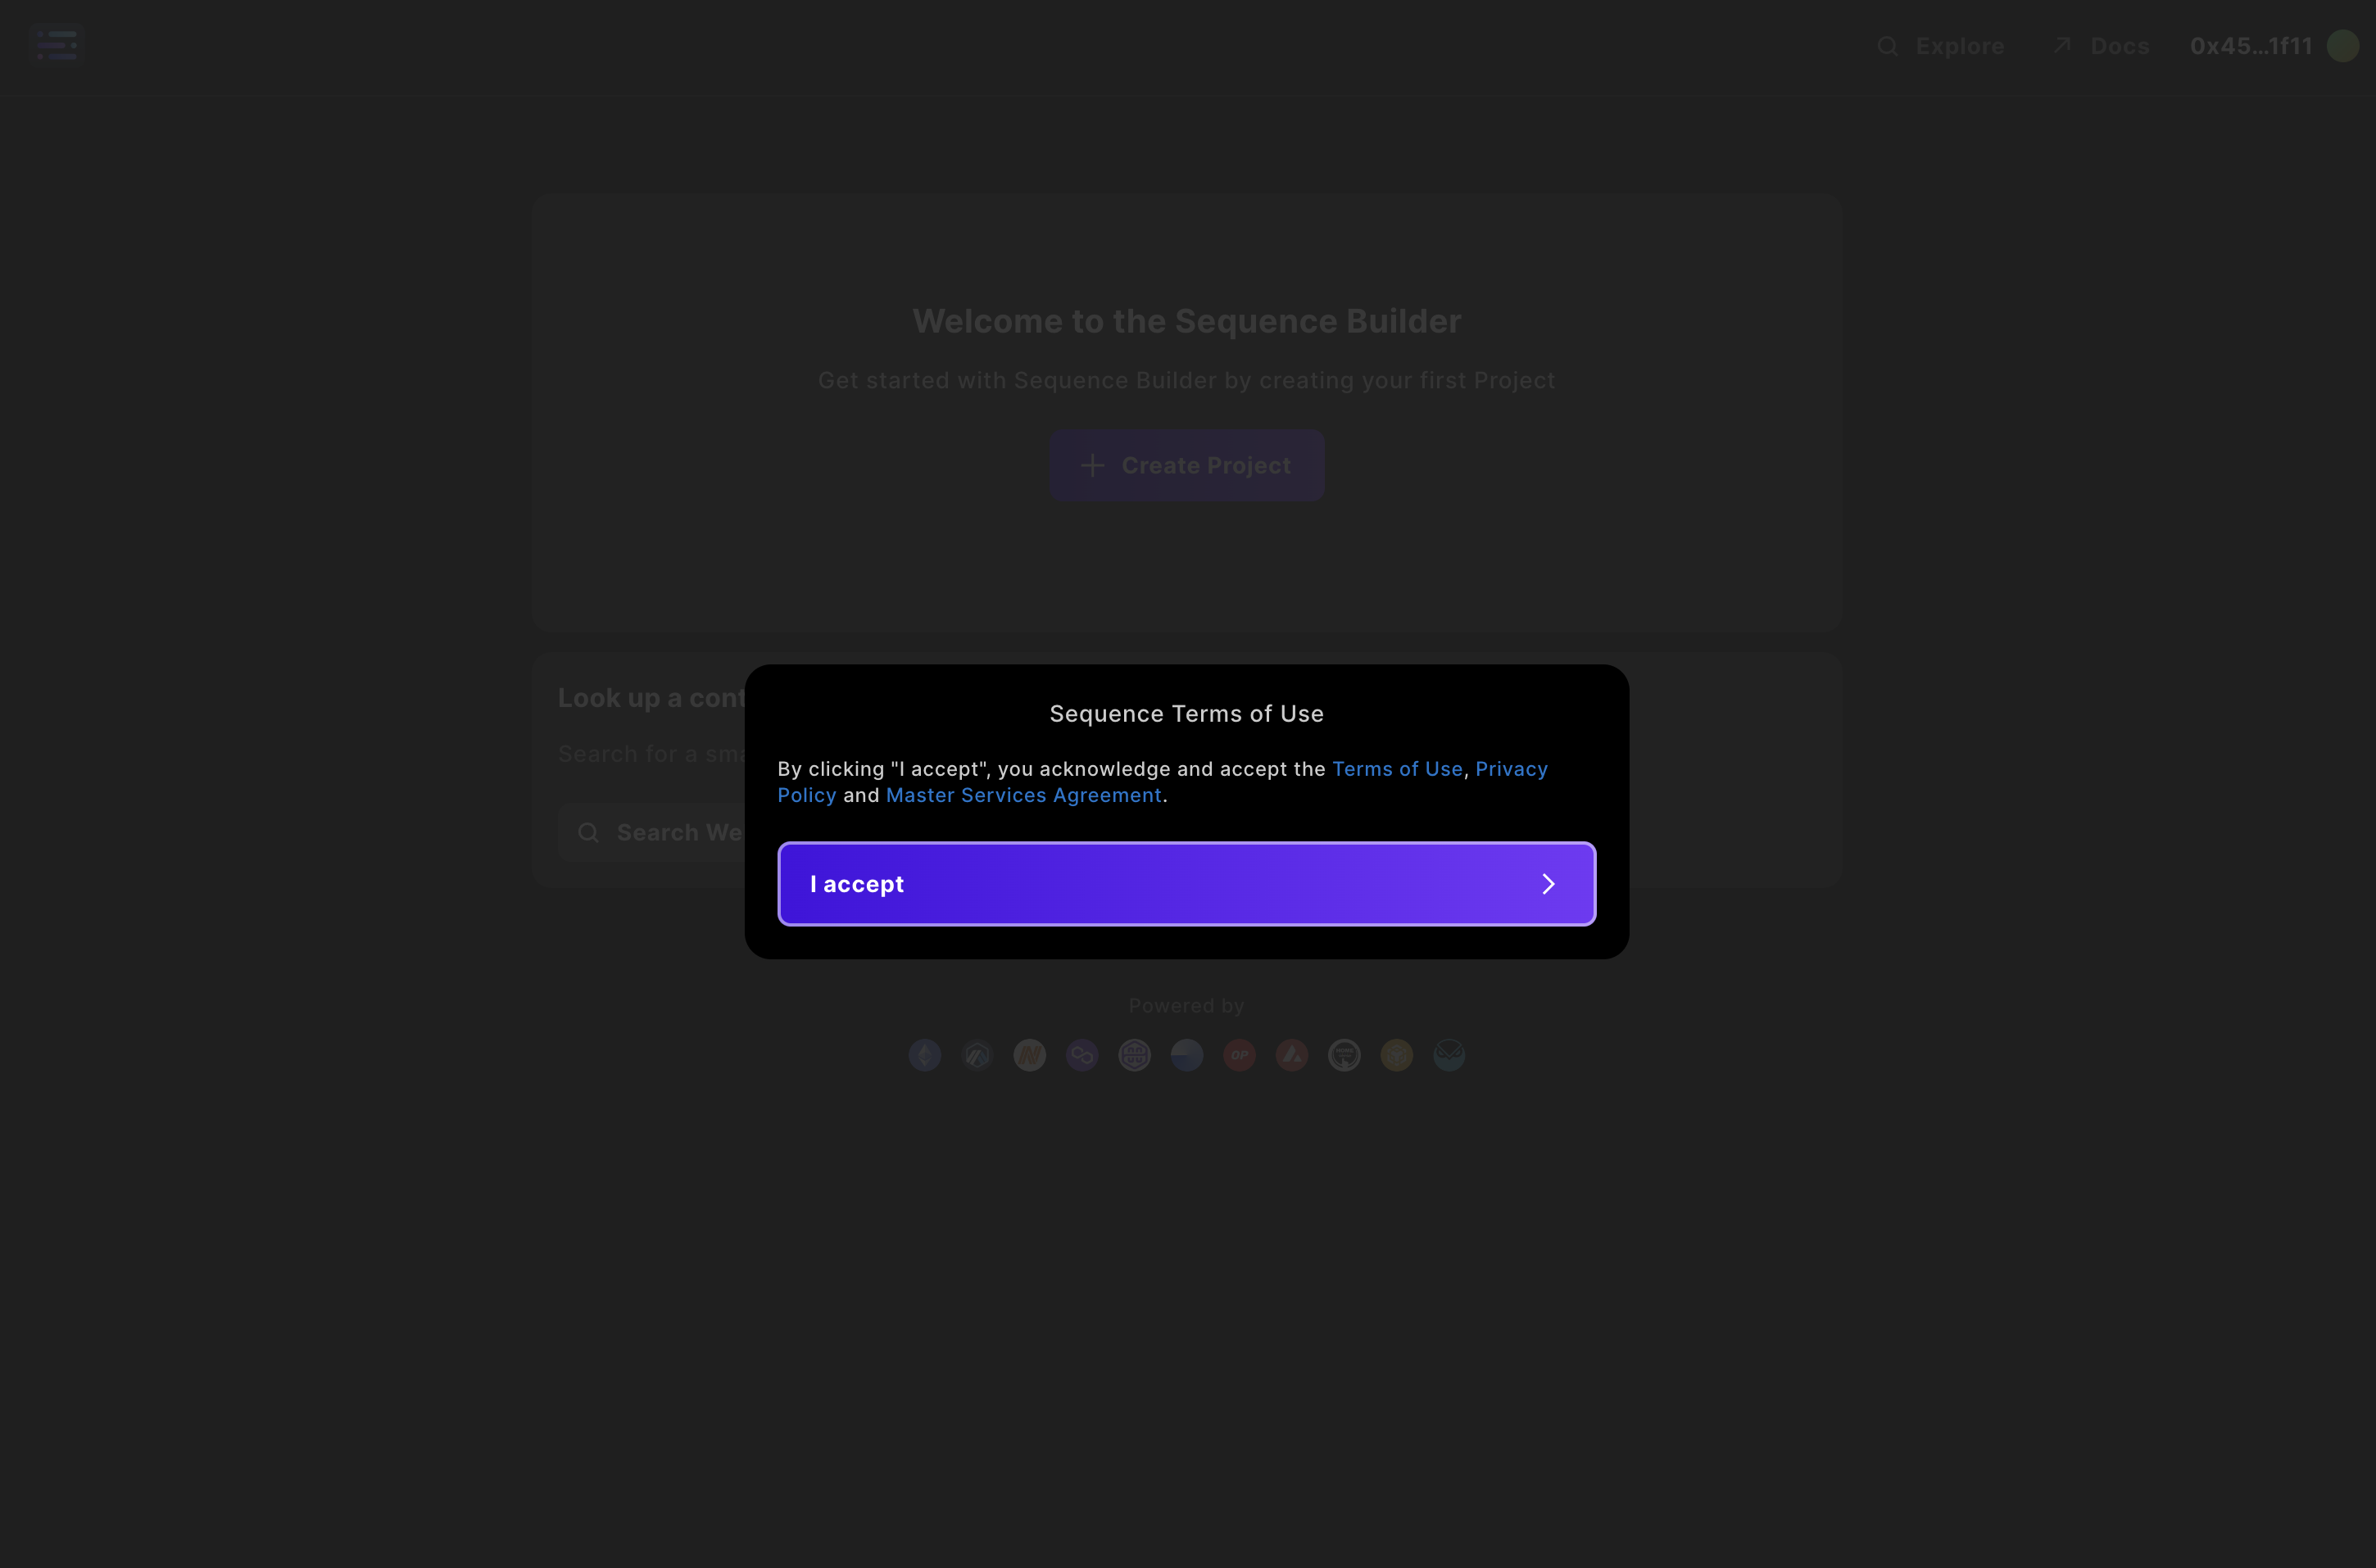
Terms of Use, Privacy Policy, and Master Services Agreement, click on the respective links for each.
Create a Project
Everything you do in Builder is centered around each project - so let’s start one.The easiest way to start a project is to simply click 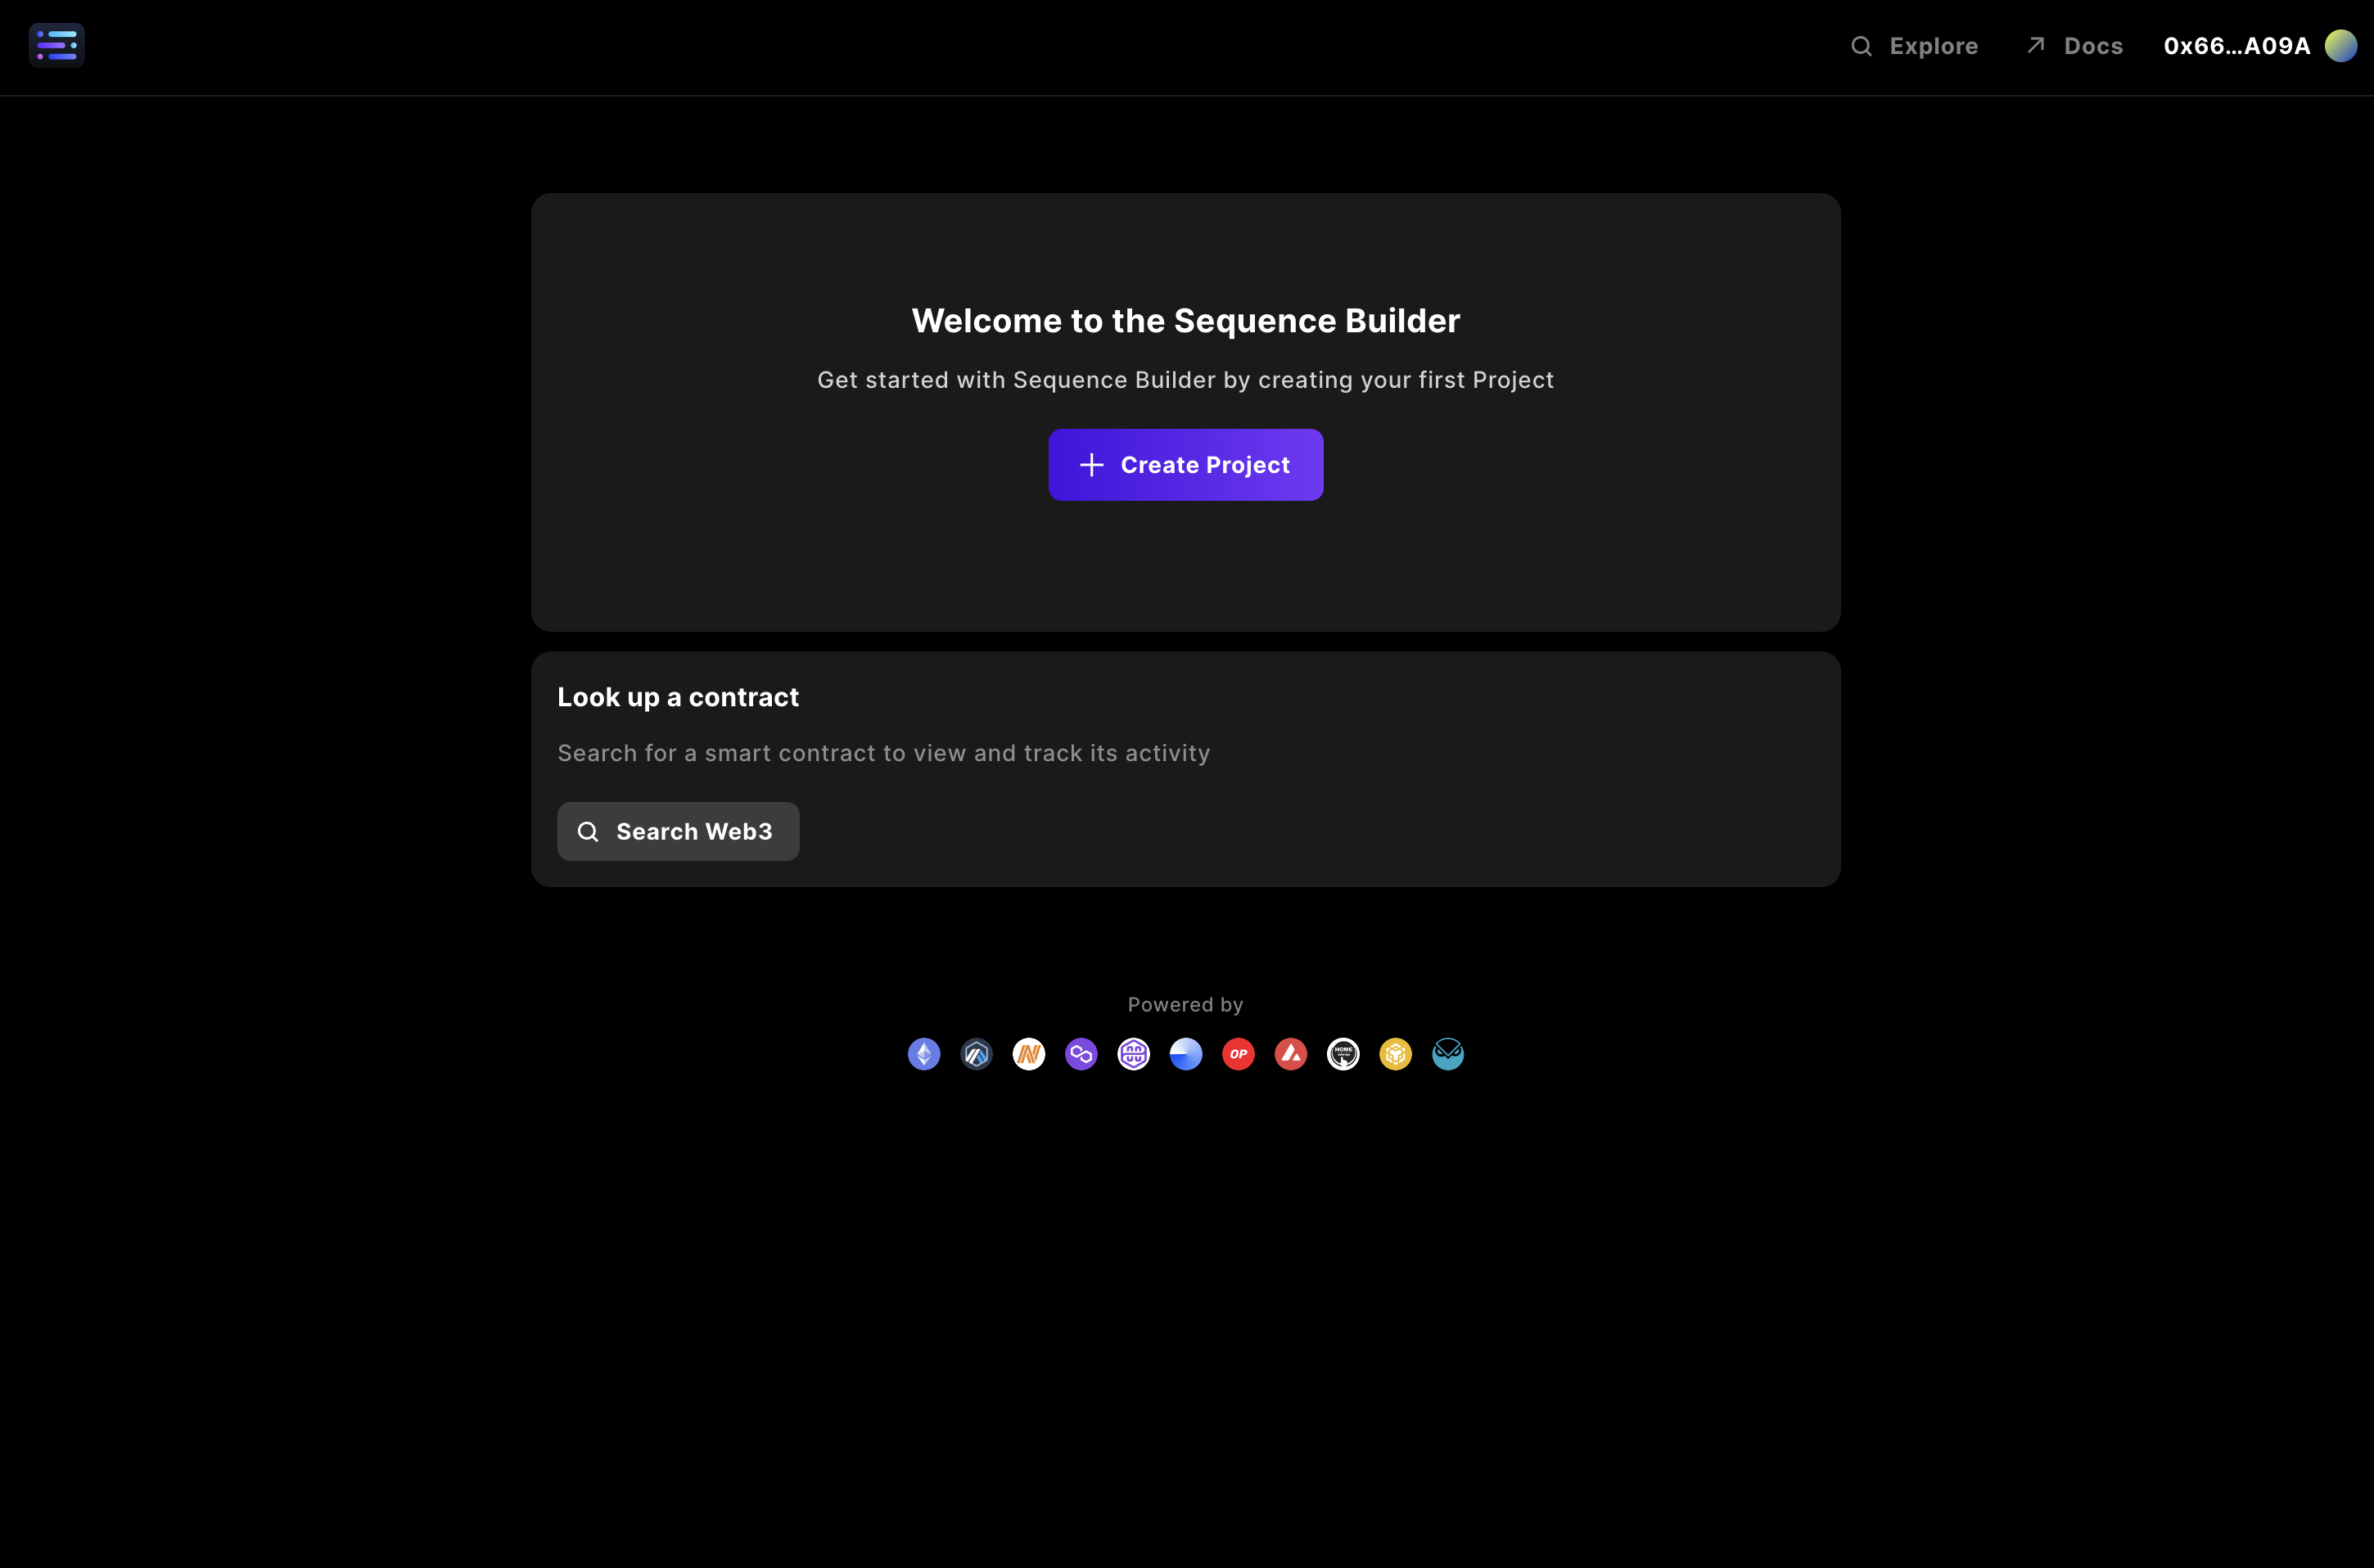
+ Create Project.
Enter the project details
A modal will pop up, allowing you to enter details about your project. Provide a project name and, if you like, add an avatar for the project.Then, select the network(s) on which you would like to start deploying. This can always be changed later.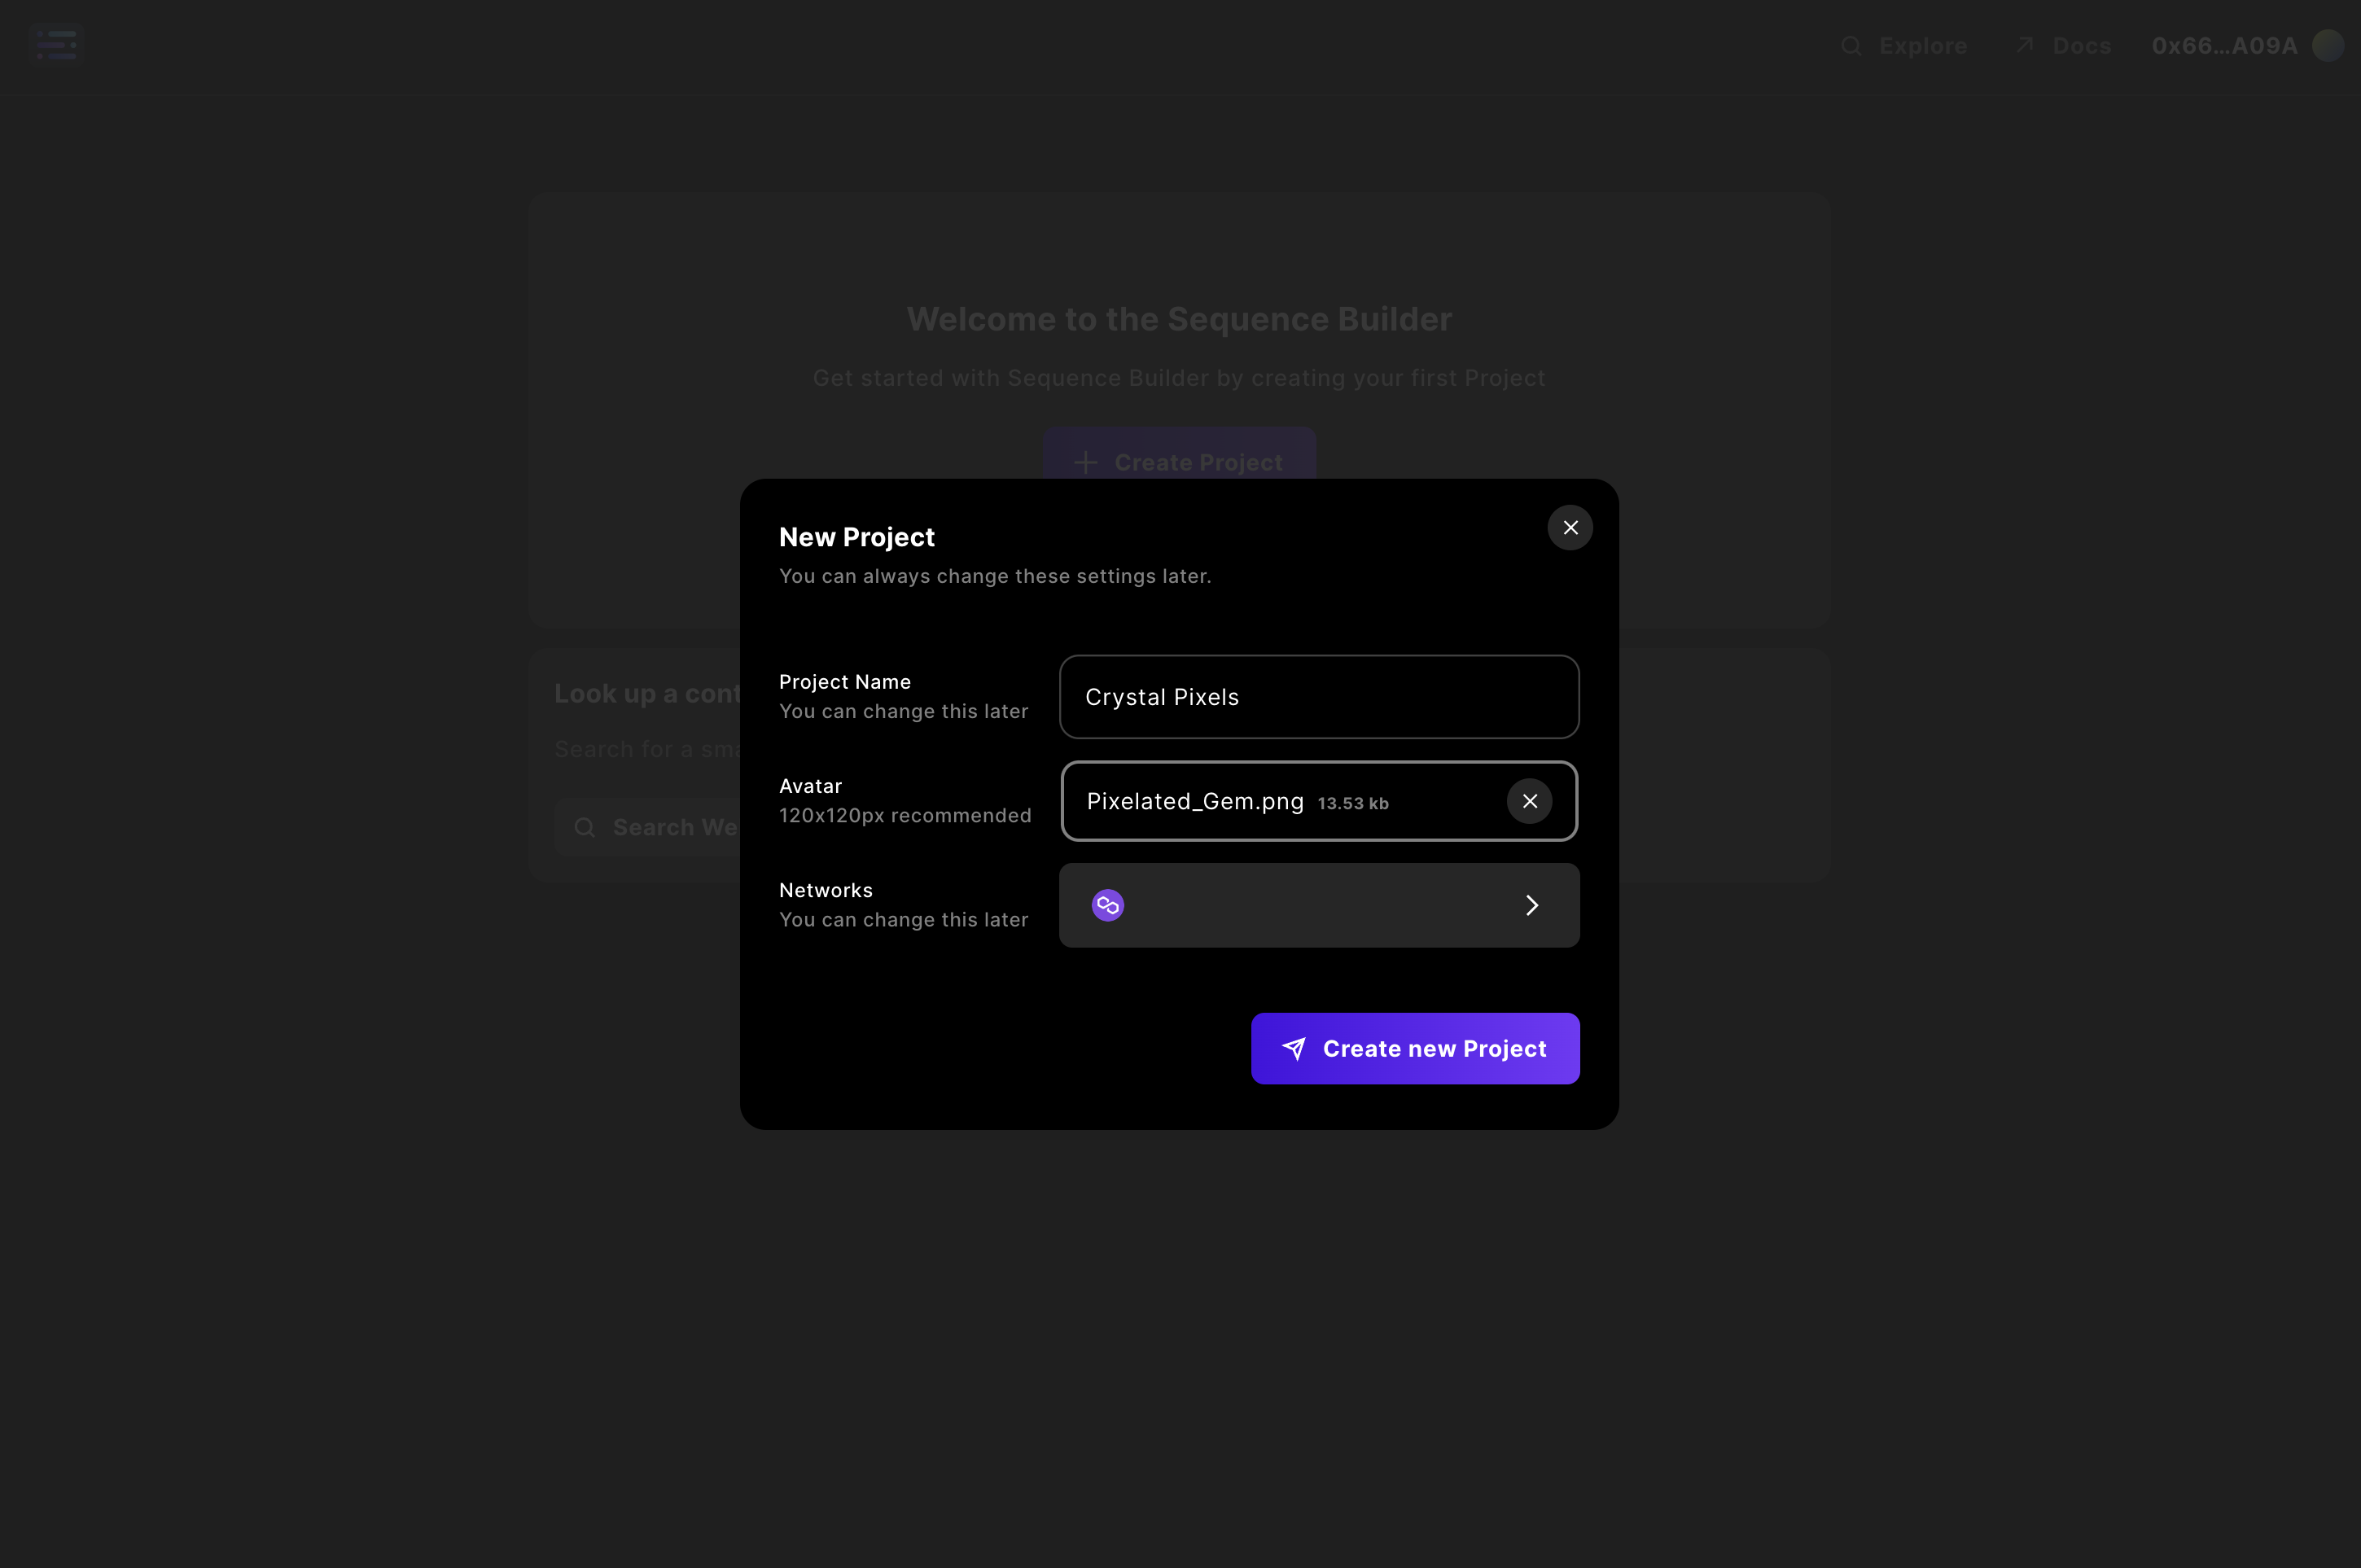

Create the project!
Now hit the 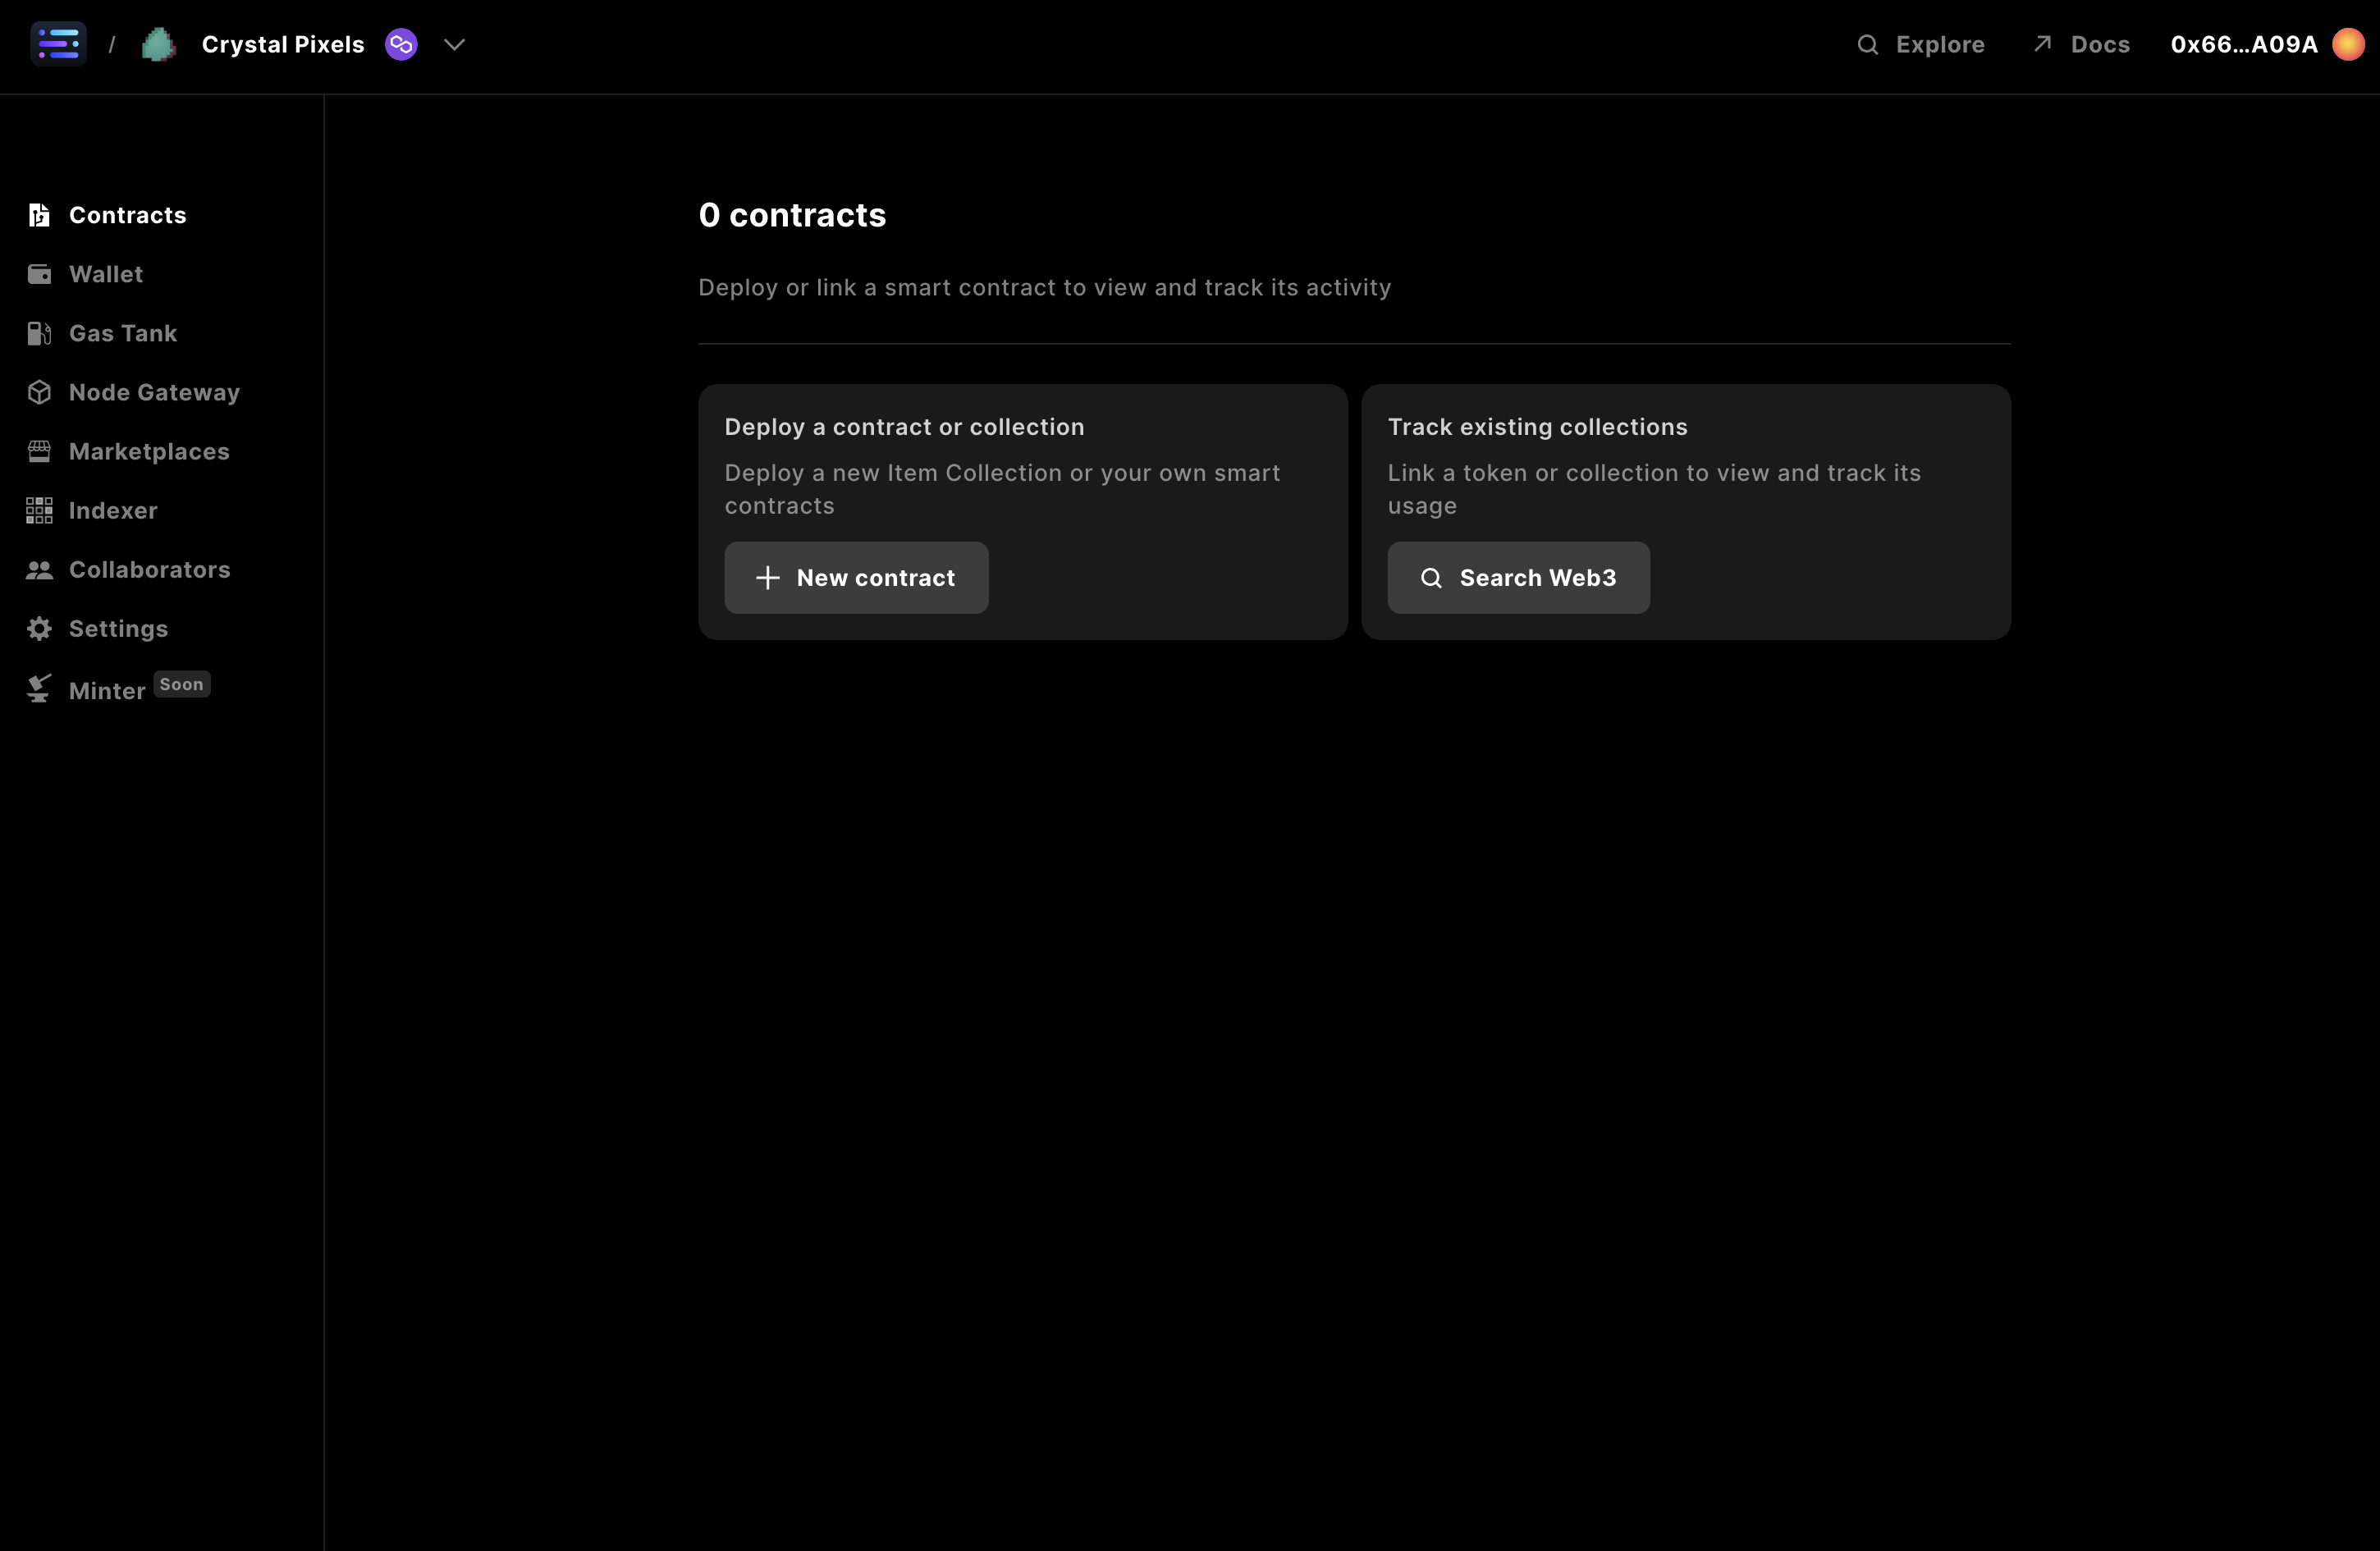
Create new Project button!
Claim an API Access Key
Finally, to start building you’ll need to claim an access key from the Builder, which can be accomplished by navigating to your 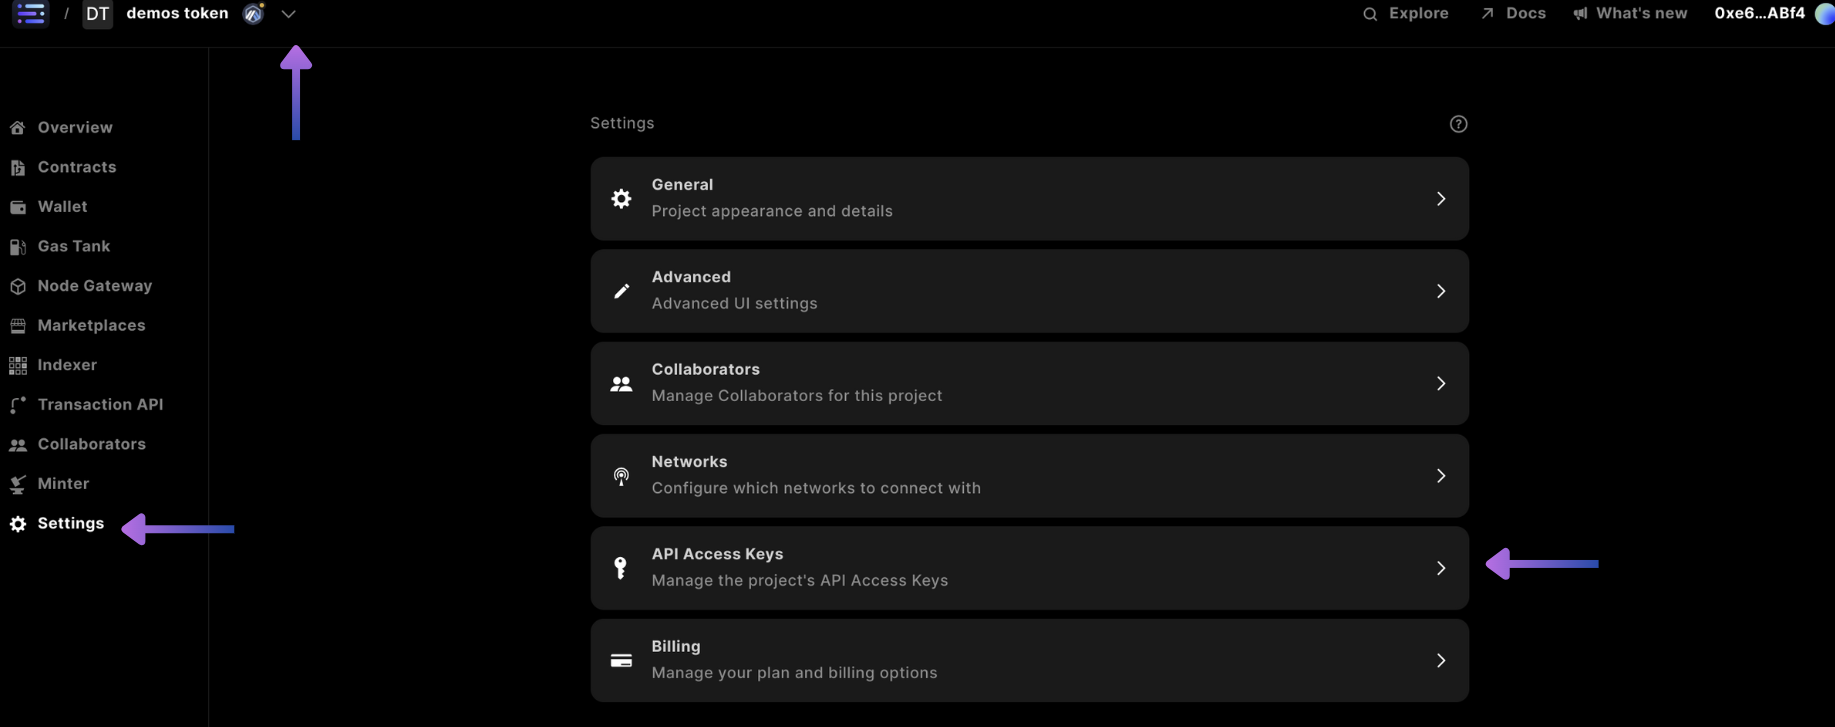
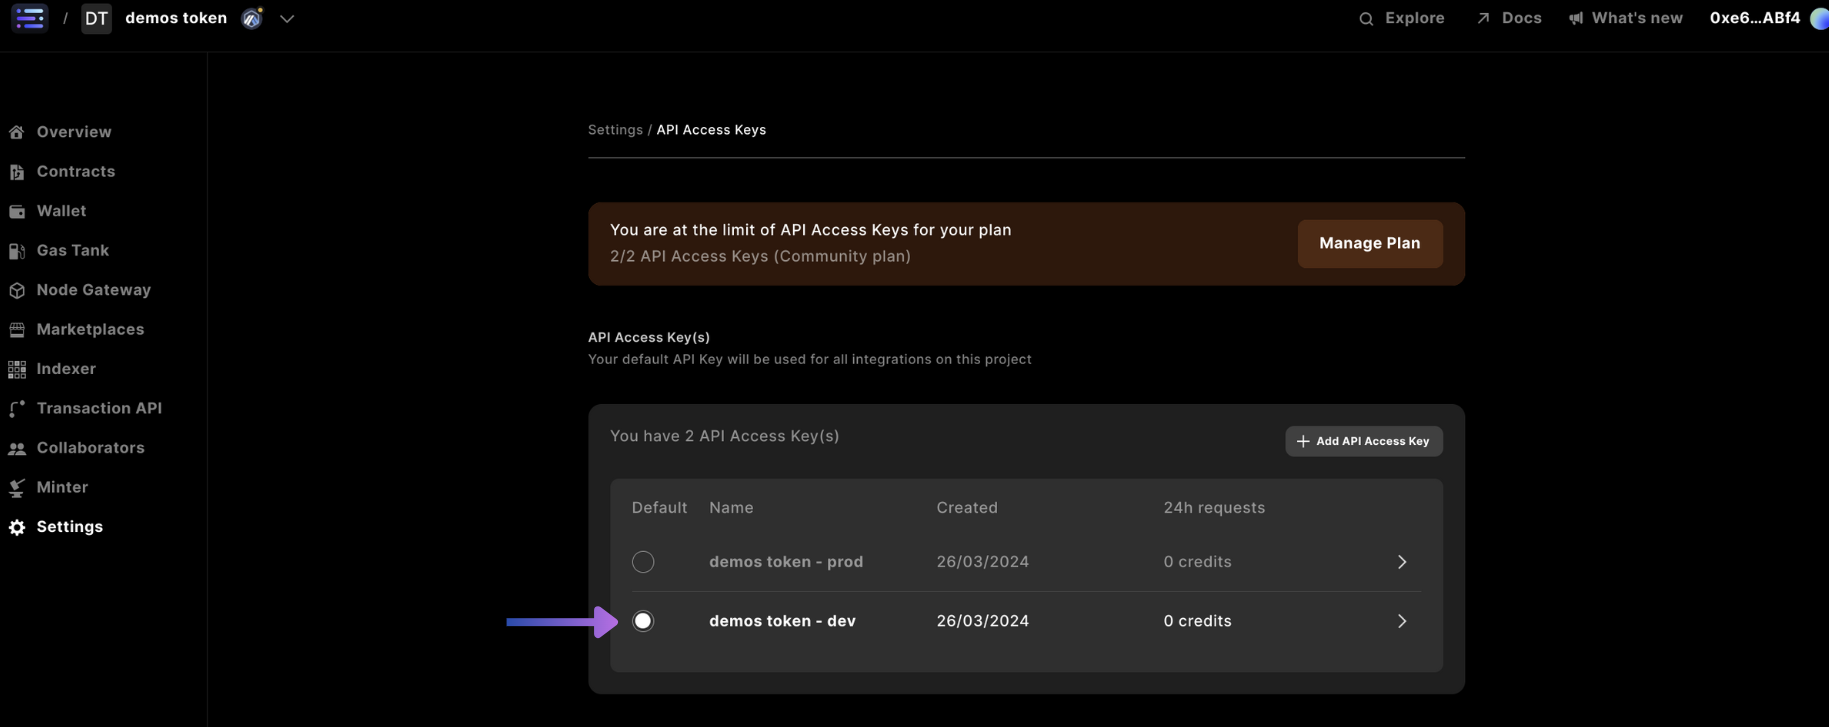
project in the top left corner, selecting Settings in the side nav, and selecting the API Access Keys card
settings of the API Access Keys select the dev access key, which is typically used for development environments, whereas the prod key is used for production environments for applications in front of your users.
(Optional for Development) Create a Service Account
In order to integrate some services from the Sequence stack, a Service Account has to be created to make updates or read from state - including Collections API or Webhooks - a 
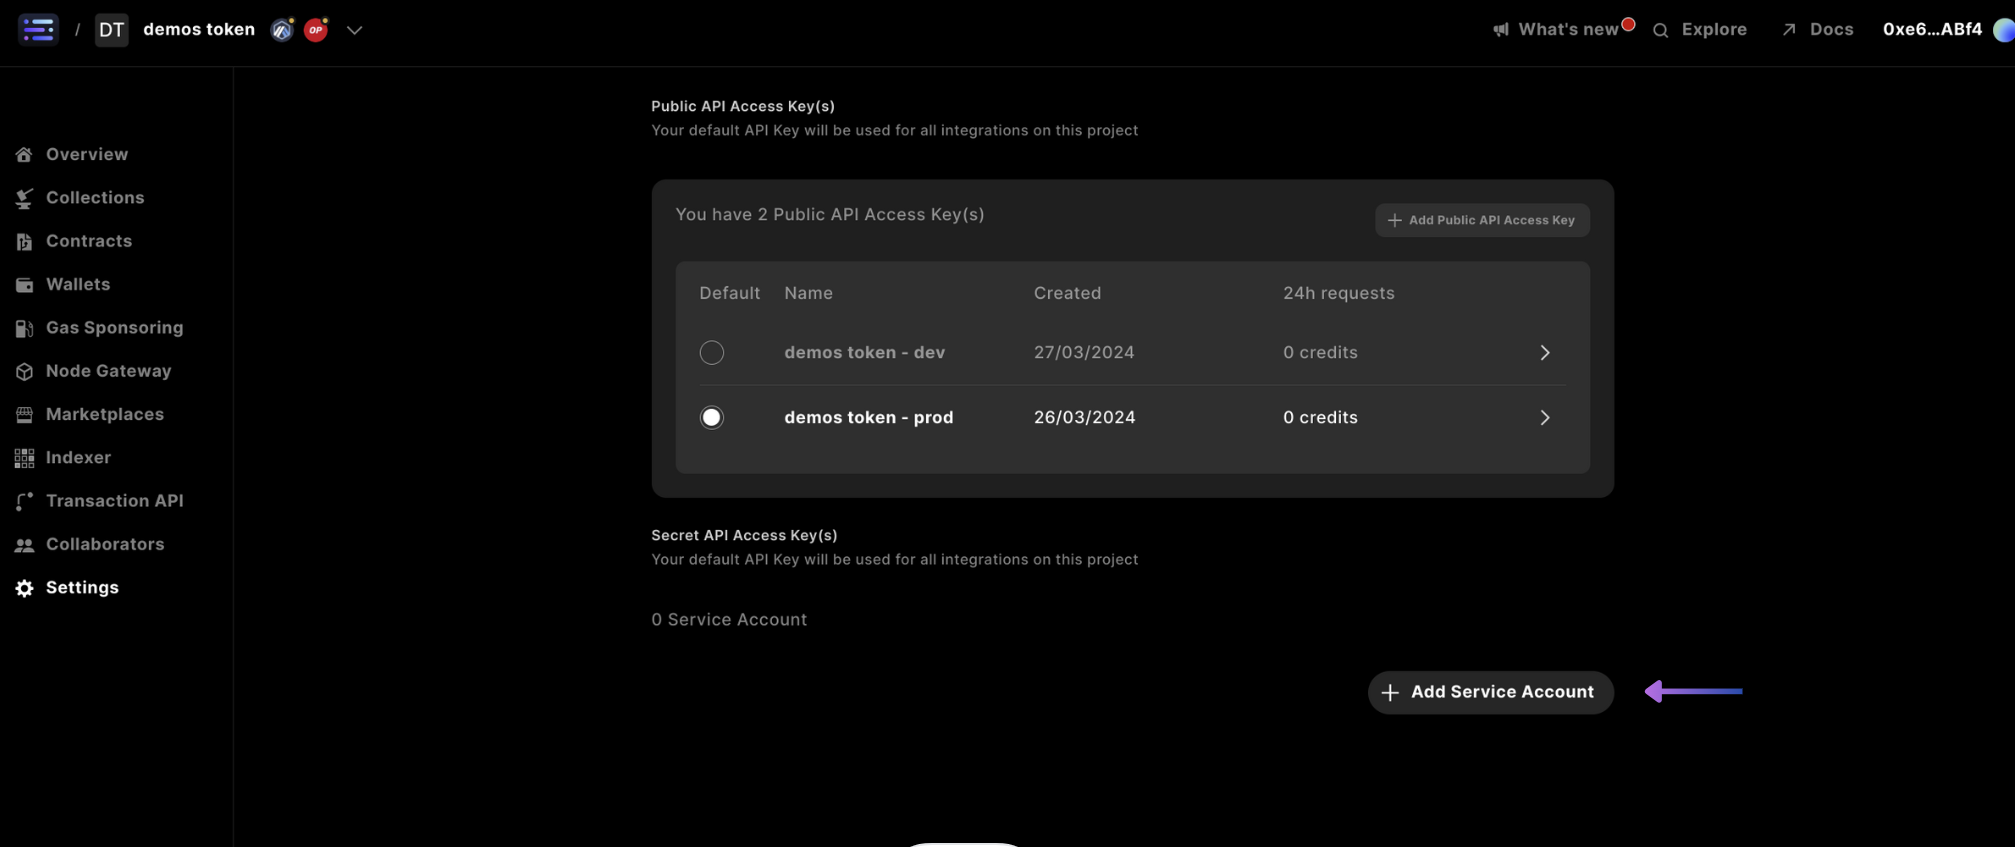
Secret API Key is required.One can navigate to the API Access Keys section by selecting the project, accessing the sidebar nav page of Settings, and selecting the API Access Keys card
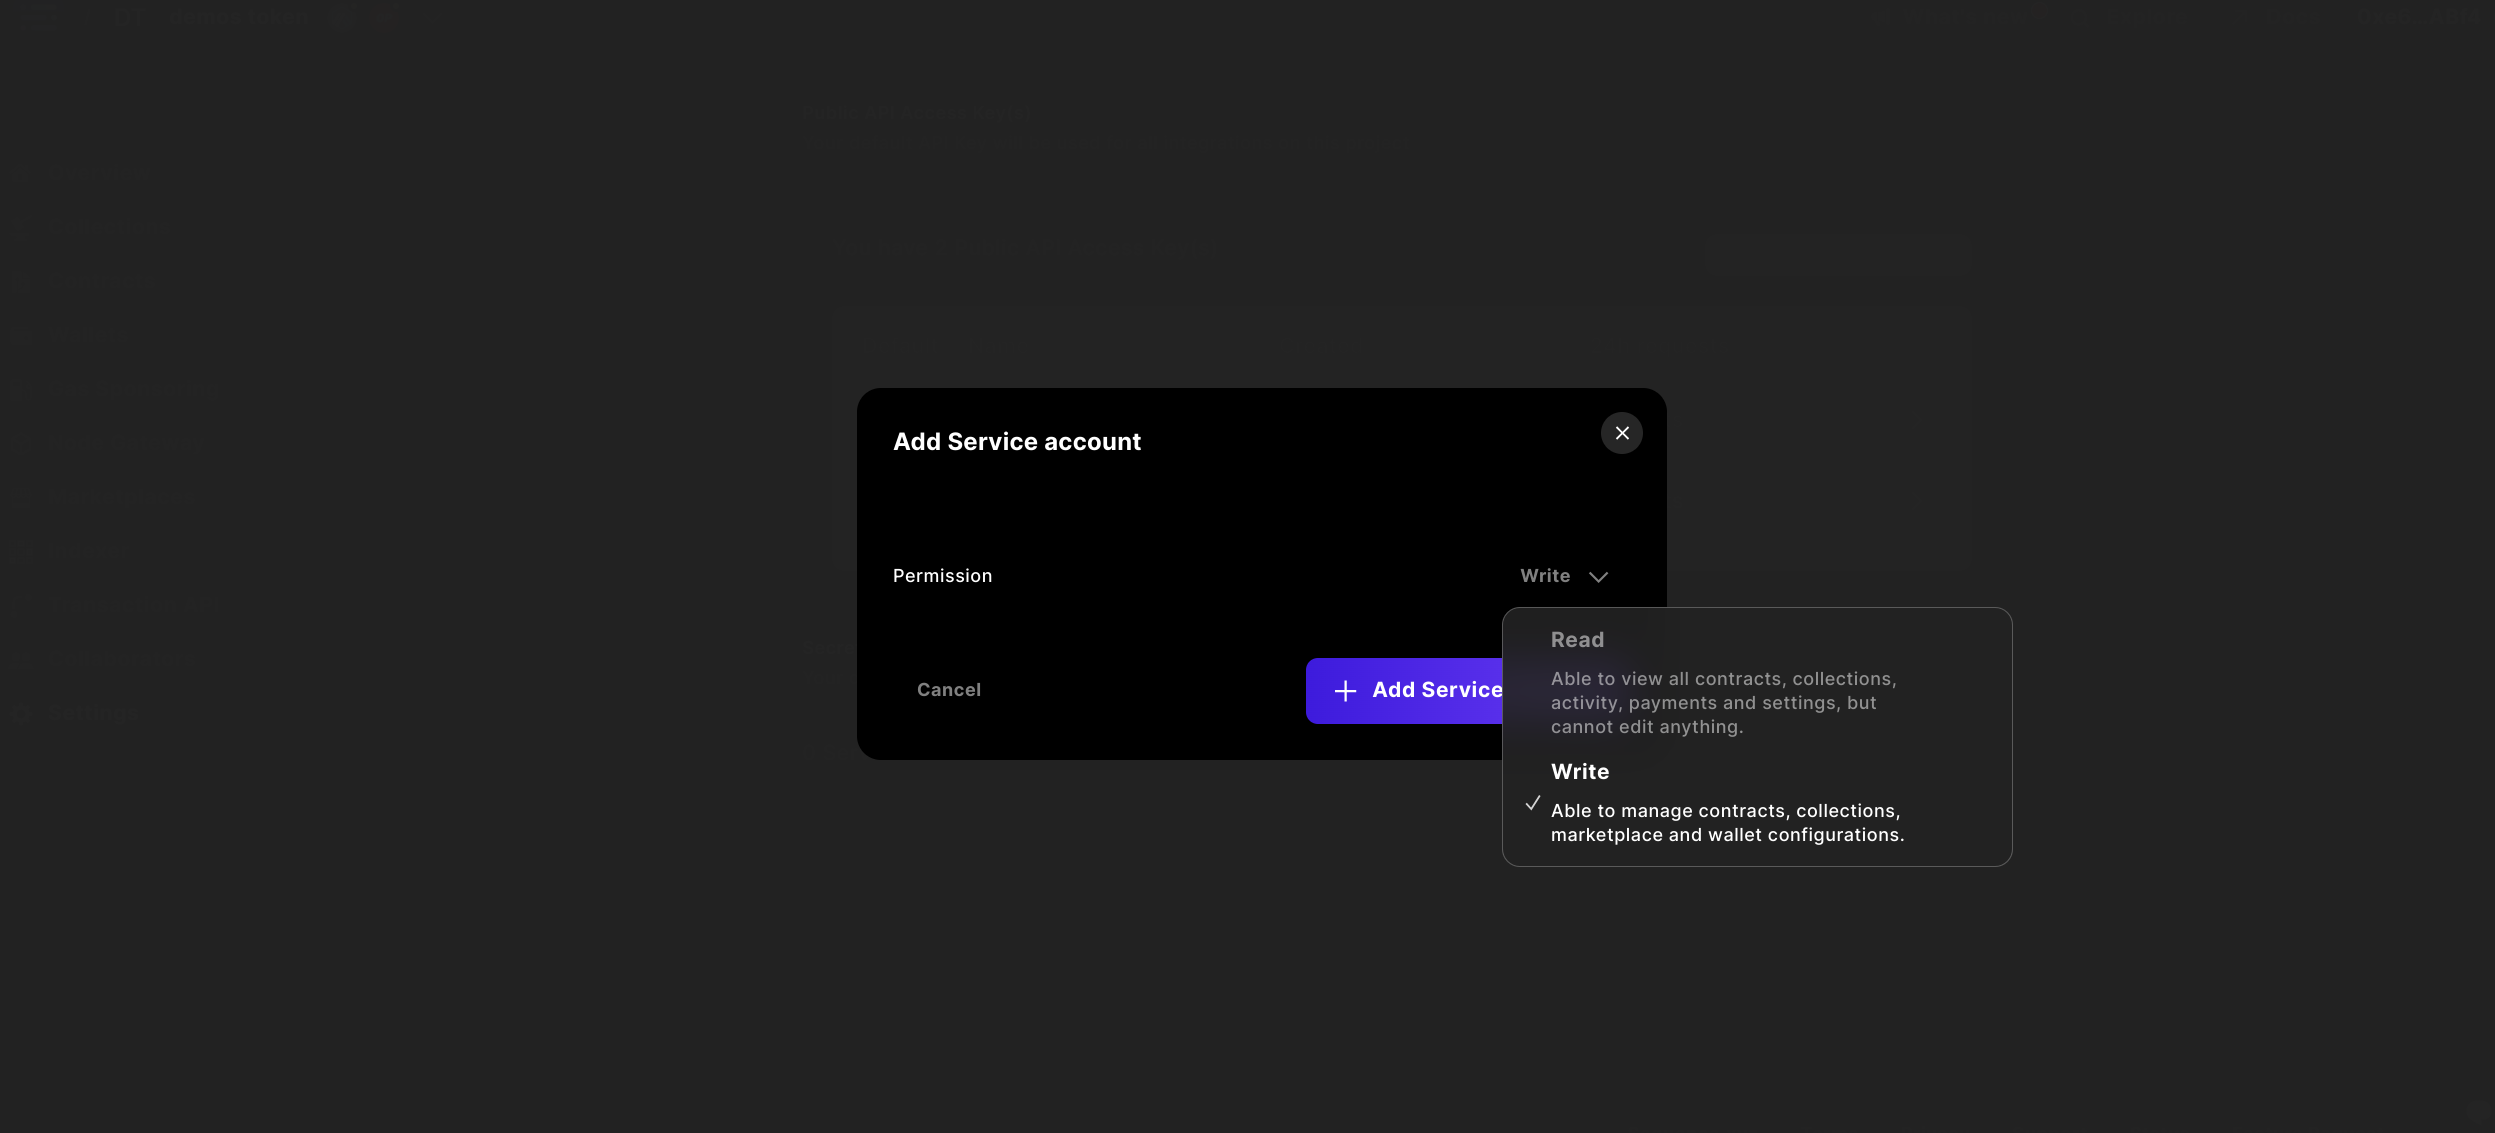
Secret API Access Key(s) sectionWhere you would select + Add Service Account
Read key, or, a Write secret API access key.For making updates to the Sequence system, select Write and + Add Service Account to include in your integration.